Hello, Happy Monday to you! Hoping you all had a good weekend. Mine was mostly me doing homework and trying to stay out of the flooding we have been having here in the south.
Today's DIY is so easy and cute that I just couldn't wait to share it! Okay let me back up a little... a while back I noticed that my mouse pad was looking a lot worn and it was time to retire it.
So I went searching online for a new one and just wasn't happy with any of the colors or designs and quite frankly I was shocked by the outrageous prices for a mouse pad!
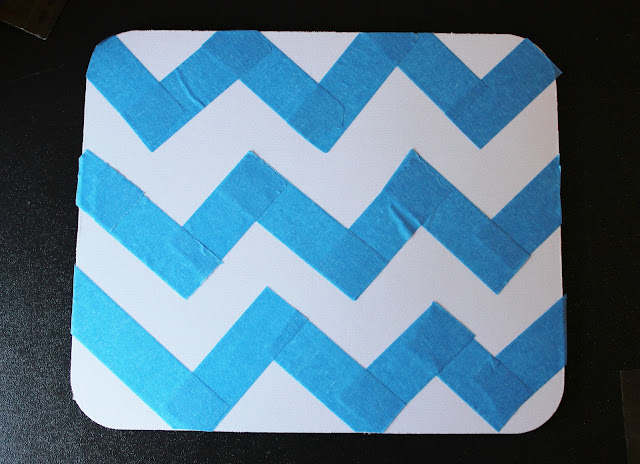
So I decided on this plain white one here and figured I would decorate it my way ;)
For supplies all you need is some painters tape, I love the blue kind it's so easy to use and some spray paint in your color of choice.( I used Ballet Slipper pink )
 I used my tape to create a chevron type of design, you can use a ruler to get your stripes more "perfect" but I just kind of eyed and adjusted as I went.
Of course you will want to make sure there aren't any air bubbles in your tape so just press the tape down and smooth it out before spraying.
After a couple even coats of paint, let it dry and add a few more coats - you can add a matte finish if you'd like, but I felt like it didn't need it.
Let it dry completely, peel off your tape and voila! Beautiful mouse pad that didn't break the bank!
Thanks for Reading!
-Hillary
FTC
Disclaimer: This is not a sponsored post, I purchased this product
with my own money and all opinions are my own and honest.


